I received an email from a local pizza man, Bob Marshal of Biga Pizza ( click that name!... a delecious wood-fired pizza place) in Missoula about creating a set of dishes for the Jewish holiday of Passover. Specifically, a type of plate known as a Seder Plate. It holds several types of food which all have very specific meanings. If you'd like to know more about the Seder Plate and the ceremony click, here.
When I read the email and looked at the examples he sent I thought they were very very bright and extravagant... but I knew I could make something awesome for him in the time that we had, and something a little more classy. I knew for the amount of money he wanted to spend and the time I'd have to put in that I could do it and still make some ok money at it. I was into it because I felt like I could see the process from start to finish and wanted to know if I could accomplish it. I'm also interested in religious ceremonial ceramics. This is my second religious commission, the first being a communion set made for a Priest in Helena, Mt. The following are pictures of my process.
The first part was to have a meeting with the man that was ordering these. Luckily he was super cool with my ideas and I wasn't scared to say no about certain things that he wanted. Time and money was a serious consideration.

Before I threw the plates I needed to figure out what size the impressions needed to be. I cut out some circles on paper and then drew the designs on them.

My next step was to throw six cylinders with a rounded bottom that would be filled with plaster for the stamps.

Once the stamps were out and still damp I carved my designs.

Once the plaster stamps set up long enough to withstand a good pounding and my plates were somewhere between soft and leatherhard, I gave each stamp a good pounding, leaving a shallow imprint where the food will be displayed.

After trimming and bisque firing the next step was to apply a blue wash to the rim. All I did was recenter the plate on my wheel and apply the wash with a brush.
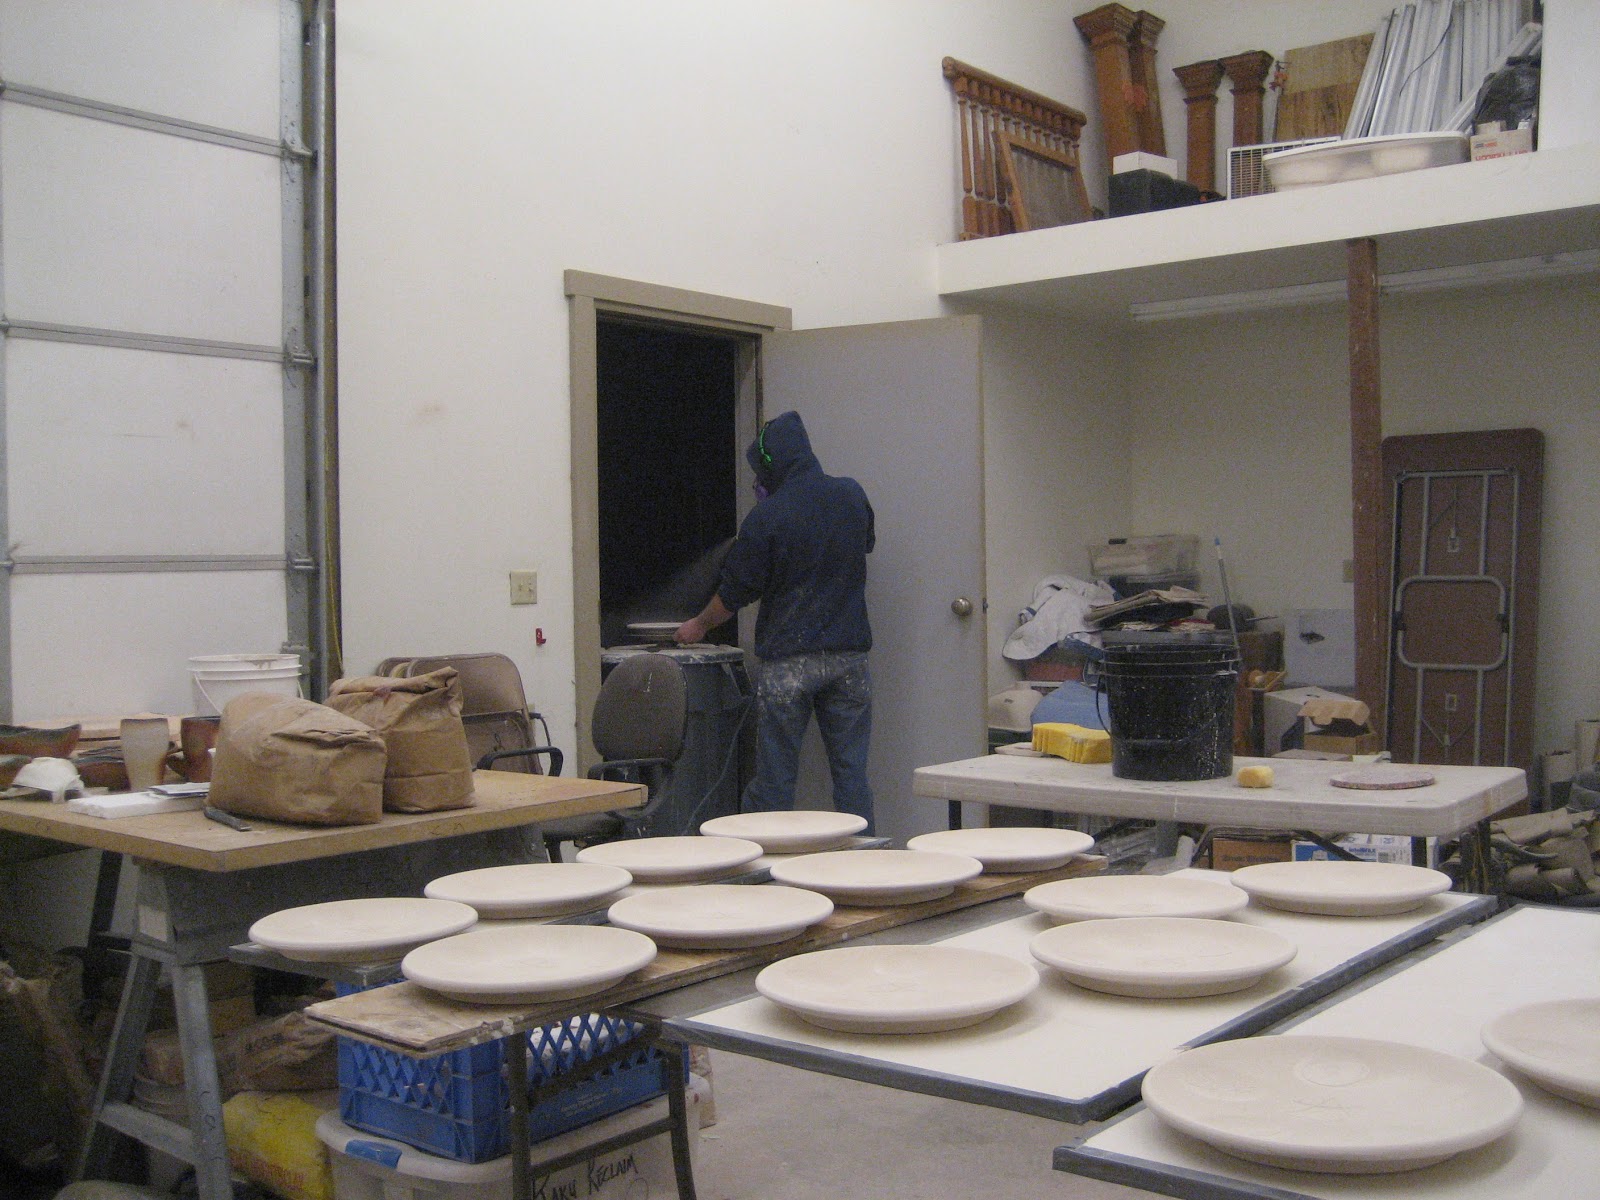
My next step was to spray a clear glaze. This was a little nerve-racking for me because I don't have much experience with spraying glaze.... although I've seen it done plenty of times. The studio I'm in doesn't have a spray booth, so I had to spray directly outside.

Fired to cone 6 in the electric kiln. I'm glad to say that every plate came out perfectly. Like most things that I do, each knew thing leads to something else. I can always see things that can be improved upon. I think the blue wash came out too dark and the carving could have been less subtle. I also learned that when I pound a stamp into a plate, the plate doesn't forget. Nothing cracked, but there are some wavy rims and feet. All in all I call this a success. Happy Passover.
Fantastic set of notes and photos here! Malzo Tov.
ReplyDelete-- steve saroff
thanks, Steve!
ReplyDeleteThe plates turned out great!
ReplyDeleteyeah they did, heidi! woo!
ReplyDeleteI like their stacking profile, the unevenness, however slight, makes them more interesting together
ReplyDelete